How to Install Magento 2 Extension
It is recommended to install the extension in a test Magento 2 environment that is a copy of your LIVE website. After you have verified the module works correctly with the other functionality in your test website, you can safely install the module on your LIVE website.
In order to make a successful installation of the extension you will need to have an SSH access to a server where your Magento 2 website is installed.
Also, you will require an executable access to the bin/magento bash script.
All installation options require use of Composer package manager.
Installation via Composer
This section will show you how to install a Maggento 2 extension via composer. It is assumed you have a zip archive copy of an extension ready.
Place a zip archive into a Magento 2 directory. Consult with a system administrator of your hosting provider to guide you the exact location of the Magento 2 directory.
Add new composer "artifact" repository type to the
composer.jsonfile. Execute the command. Assuming that the extension is located in the root of the Magento application.
$ composer config repositories.pronko_local artifact ./
- Add the zip archive. Execute the command:
$ composer require pronko/module-name
Make sure to change the module-name with the real component name.
- Enable extensions in your Magento 2 application. Execute the command:
$ bin/magento module:enable Pronko_ModuleName
Make sure to change the ModuleName with the real component name.
- Install the extension. Execute these commands:
$ bin/magento setup:upgrade
$ bin/magento setup:static-content:deploy
$ bin/magento setup:di:compile
- Login to Magento Admin and verify that the extension is visible under Stores -> Configuration -> Pronko Extensions section.
Installation via Pronko Consulting Repository
Our Magento 2 extensions can be installed and updated from our repository using the access keys created in your account on our web store.
Place a zip archive into a Magento 2 directory. Consult with a system administrator of your hosting provider to guide you the exact location of the Magento 2 directory.
Execute the command to add Pronko Consulting Composer server:
$ composer config repositories.pronko composer https://composer.pronkoconsulting.com
- Add the zip package. Execute the command:
$ composer require pronko/module-name
Make sure to change the module-name with the real component name.
- Enable extensions in your Magento 2 application. Execute the command:
$ bin/magento module:enable Pronko_ModuleName
Make sure to change the ModuleName with the real component name.
- Install the extension. Execute these commands:
$ bin/magento setup:upgrade
$ bin/magento setup:static-content:deploy
$ bin/magento setup:di:compile
- Login to Magento Admin and verify that the extension is visible under Stores -> Configuration -> Pronko Extensions section.
Installation via Magento Marketplace
It is recommended to install all Magento Marketplace extensions via Composer package manager.
- Upon successful extension purchase, navigate to the My Purchases page of the Magento Marketplace account.
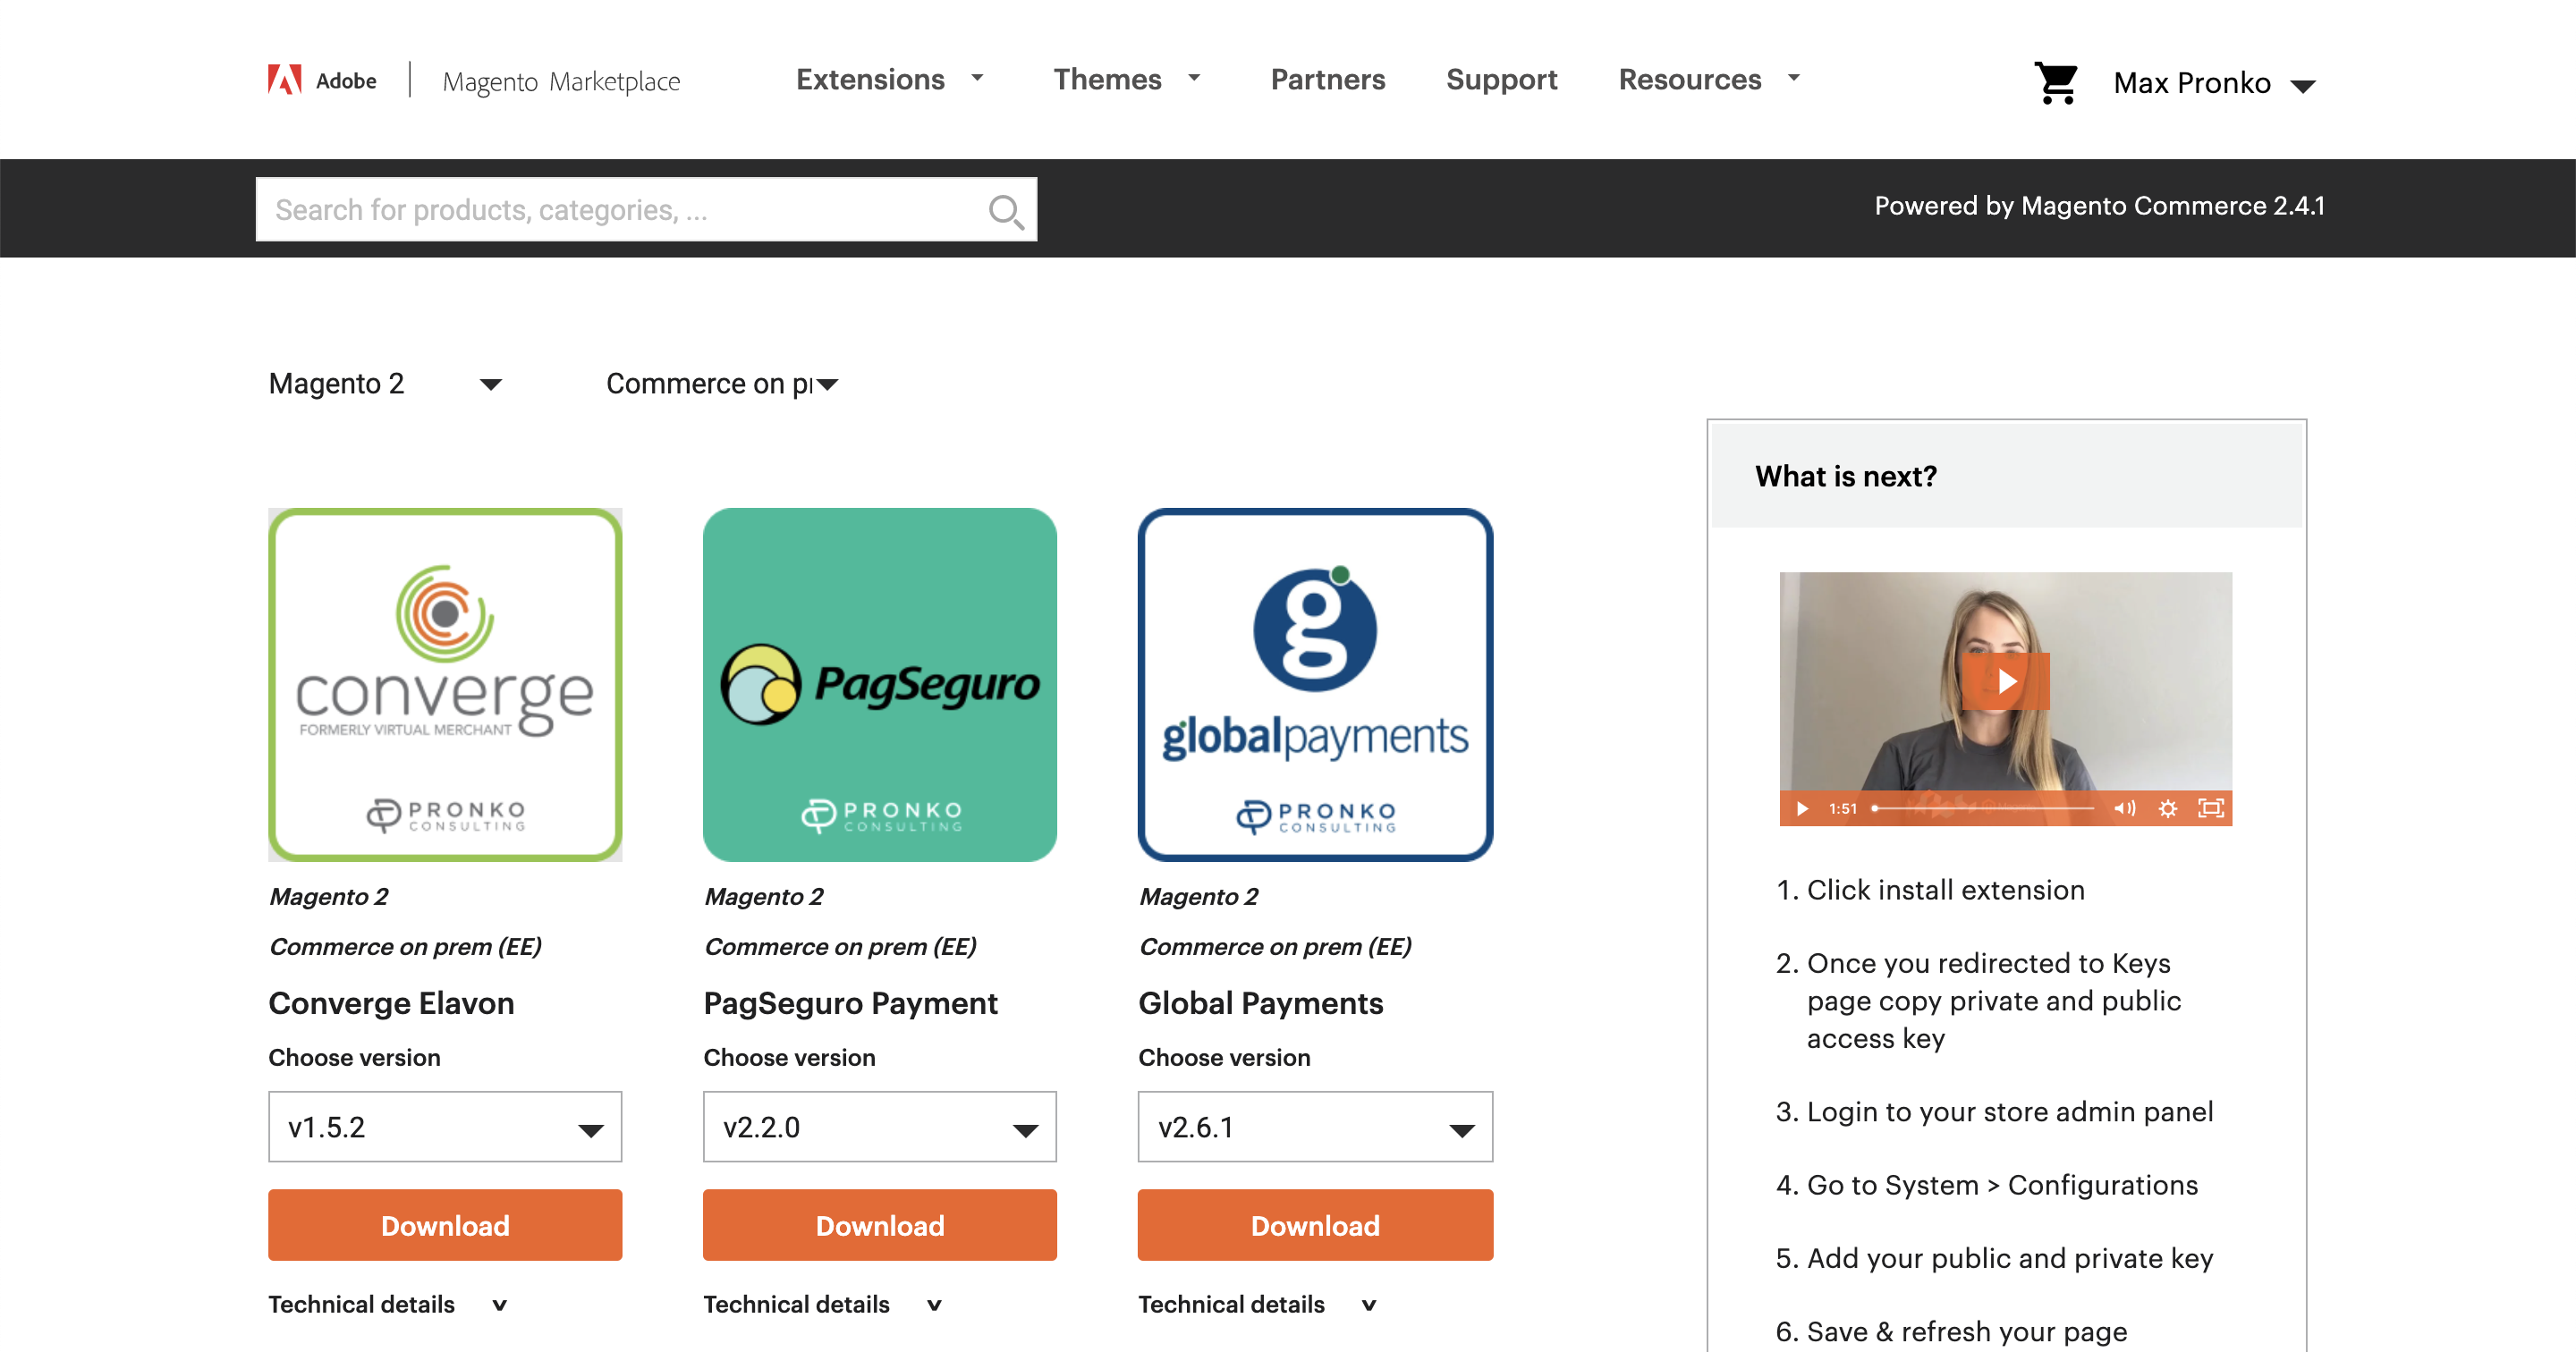
- Click the Technical details link below the extension you would like to install and copy a component name.

Login via SSH to a server with Magento 2 application.
Navigate to the Magento 2 root directory.
Make sure the auth.json file includes correct public/private keys for the composer package manager.
Execute the command:
composer require pronko/module-modulename
Make sure to change the modulename with the correct name of the package from the technical details -> Component name section.
- Install the extension. Execute the command:
$ bin/magento setup:upgrade
$ bin/magento setup:static-content:deploy
$ bin/magento setup:di:compile
- Login to Magento Admin and verify that the extension is visible under Stores -> Configuration -> Pronko Extensions section.